Review:75060 Slave I/ToaMeiko
![]() ToaMeiko
ToaMeiko
Country: United States Age Group: TFOL Gender: Male
![]() Joined: December 18, 2012
Joined: December 18, 2012 ![]() № of Reviews: 7
№ of Reviews: 7 ![]() № of Featured reviews: 4
№ of Featured reviews: 4
![]() Building Experience: 15 years
Building Experience: 15 years
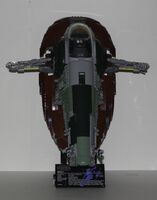
Hi everyone! Today I'm privileged to review 75060 Slave I, the long-anticipated Ultimate Collector's Series version of Boba Fett's iconic ship. This set was kindly supplied to Brickipedia by the LEGO Group, and is set to be released in January 2015.
- Set: 75060 Slave I
- Theme: Star Wars
- Pieces: 1996
- Price: $199.99 USD / €199.99 EUR / £169.99 GBP
- Brickipedia article / Brickset entry
The Box[edit | edit source]
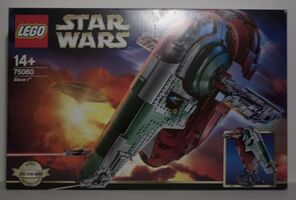
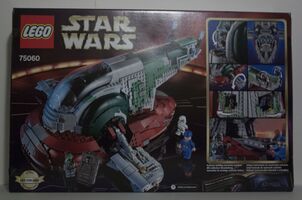
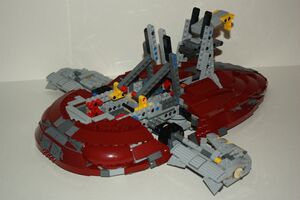
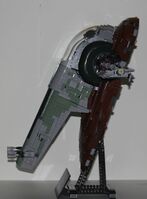
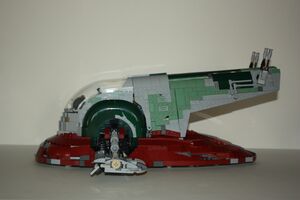
The box is very large, but that's a good thing. While the front side is very simple (in fact, mine is more simple than the press images, since mine lacks the piece count and other information you'd find on the side), there's a lot of images along the sides and back that show off many of the interesting details about this set. The box measures approximately 58cm x 37cm x 12 cm (22.8in x 14.6in x 4.7in). The finished set is a good 19cm tall and 43cm long (not counting the stand), so if you're one of those people who likes to store their sets in the boxes, don't even bother trying with this set since it won't work. But that's a good thing because this set deserves to sit proudly on your shelf.
The Contents[edit | edit source]
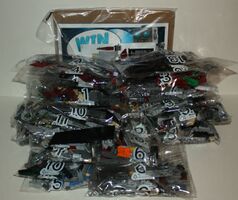
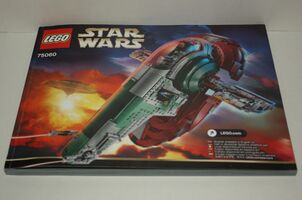
When I opened this set late in the evening, I knew it would be a very long night when I was kindly greeted by 13 sets of numbered bags (brilliant me didn't bother counting the total, but it's a little more than 13 bags total). The instructions and sticker sheet are cardboard-backed as well, which is always nice. Speaking of the instructions, this set might set a record as the thickest instruction booklet I have. Unlike any normal set this size where you'd find 4 instruction booklets, you get just one in this set with a nice spine rather than puny staples. Why? Because this is LEGO Star Wars of course.
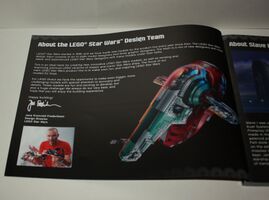
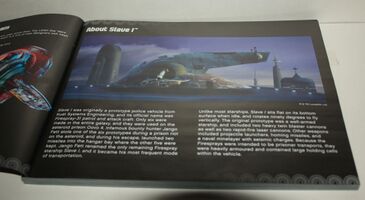
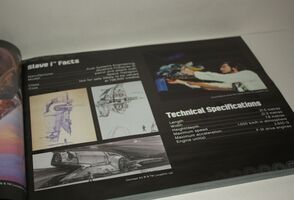
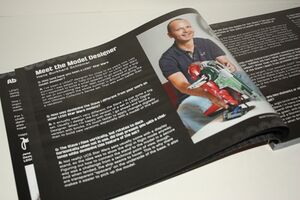
The instructions are great though. I can't say whether it's unique to this set or not since it's been a long time since I've gotten a LEGO Star Wars set, but there are several pages of information in the booklet before the building instructions, much like you'd find in a LEGO Architecture set or a LEGO Ideas set. The informational pages cover a few topics: "About the LEGO Star Wars Design Team", "About Slave I", "Slave I Facts", and an interview with the designer Hans Schlömer. Next in the instruction booklet you get the stuff you always find such as the outline of which bags build what and the little comic that tells you how to sort your bricks for building. 282 pages later you make it to the end of the set and you find the list of pieces (all 1996 of them). The last two pages show off all the features the set has in case you didn't notice them while building, then an advertisement for the UCS Sandcrawler, and the back cover tells you to give feedback on the set. I tried to do this but the site wouldn't let me since the set isn't out yet. The entire instruction booklet totals 300 pages exactly assuming I counted right.
The Build[edit | edit source]
Bag 1[edit | edit source]
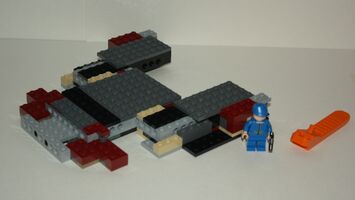
The first bag is incredibly basic. You begin building the base of the ship as well as the first minifigure (Bespin Guard). You also get an orange brick separator to add to your ever-growing collection of them. At this point you hardly get to know the scale of the finished model nor do you hardly know which part of the ship you're building. Not many uncommon pieces appear in this bag, besides some dark red 2x2 corner plates.
It does seem strange to me that the Bespin Guard is the first minifigure in the set and the only one in this bag. I'd have rather seen all the minifigures in the first bag, or at least Boba Fett. It doesn't particularly matter though since in the end you'll have all the minifigures built anyways.
Bag 2[edit | edit source]
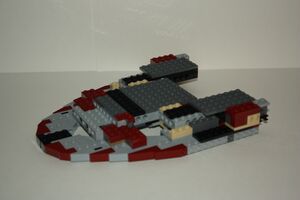
Once you get to bag 2 you get to build some fun SNOT curves, which eventually shape the bottom-rear of the ship. Both curves are symmetrical and pretty neat to build. They fit on the bottom of the ship perfectly and stay attached very well. This bag includes a good deal of dark red slopes in a nice variety. Many of slopes have been very uncommon until this set, including the dark red 4x1, 2x1x2, and 3x1 slopes.
Bag 3[edit | edit source]
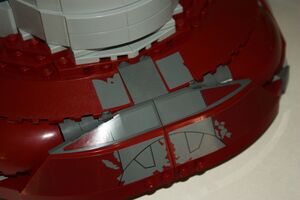
Bag 3 is when the fun starts happening (just kidding, there's fun in every bag). You get a ton of dark red slopes here that build the majority of the base. Since the slopes don't line up perfectly and are clearly "layered", it creates an uneven and patchy appearance to the surface, but in this case it works well seeing as Boba Fett's Slave I was never kept in the best condition. When viewed from a distance it's hardly a concern though, since the ship takes on an overall well-rounded appearance. You do get your first sticker application in this bag, which merely adds a bit of weathered appearance to some dark grey slopes. Many of the pieces in this bag are uncommon; this set of course being your new best source for miscellaneous dark red slope pieces.
Bag 4[edit | edit source]
The fourth bag starts the front side of the ship's base. Like the previous bags, it also includes a supply of various dark red slopes. This bag adds 6 more stickers to the model, all present on the very front of the ship.
Bag 5[edit | edit source]
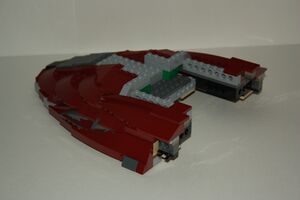
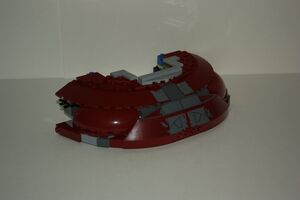
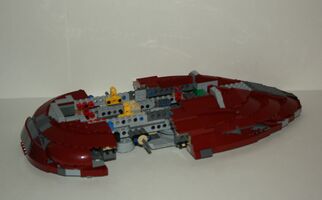
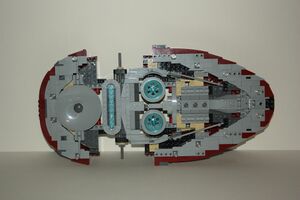
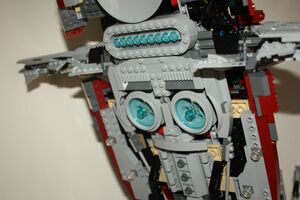
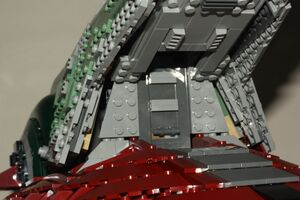
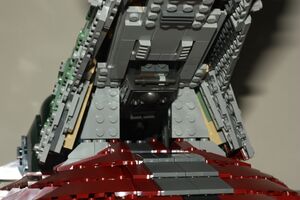
Bag 5 gets to the point where you attach the front to the back, essentially completing the base. If you hadn't gotten it already, this step finally gives you a sense of the large scale of this set. The attachment of the front and back is a very sturdy assembly using both Technic and System pieces. All the underside details are built in this bag. I can't come to a judgement whether I feel the underside is detailed enough or not enough. Some parts looks a bit bare but compared to the actual ship, all the details seem to be present in this LEGO model.
Bag 6[edit | edit source]
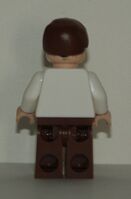
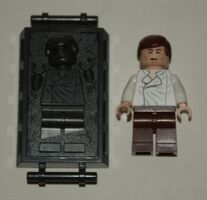
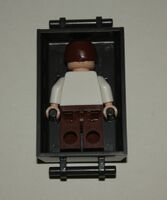
Bag 6 is very quick to build. It assembles a sophisticated Technic structure that forms the cargo bay door and a bit of the internal shape of the upper part of the ship. You also (finally) get to your second minifigure, Han Solo, as well as his carbonite piece.
Bag 7[edit | edit source]
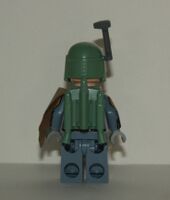
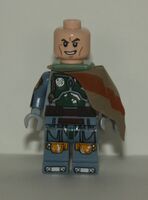
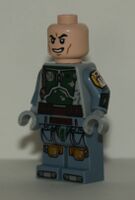
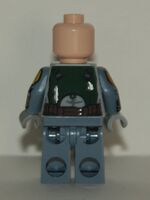
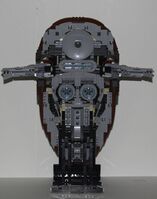
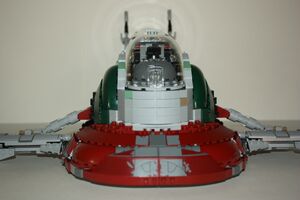
By Bag 7, you are greeted by the long overdue appearance of Boba Fett. You assemble both "wings" in this bag, which are completed by some stickers that are a pain to align straightly. Though I often have no preference on stickers vs. printing, this could be a case where printing would have been much easier on the builder. Once the wings are assembled and attached, you can play around with their rotation feature which is handled entirely by gravity.
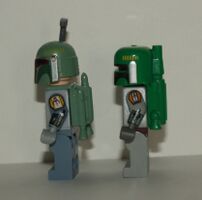
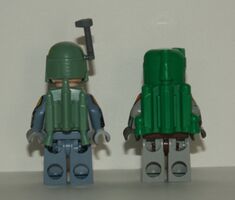
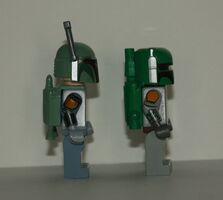
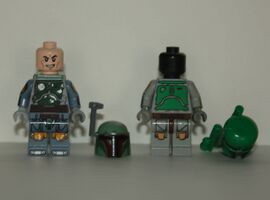
This Boba Fett minifigure is by far the most detailed one to date. Above I have pictured some side by side shots of it with the older style Boba Fett, as seen in 10123 Cloud City.
Bag 8[edit | edit source]
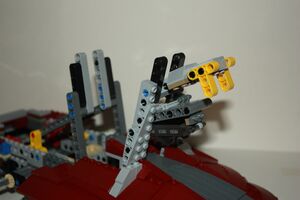
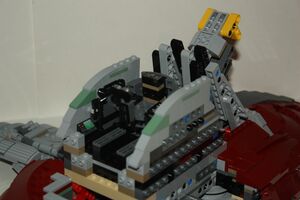
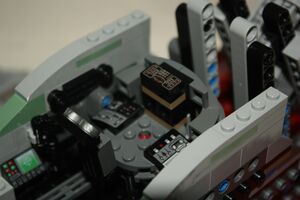
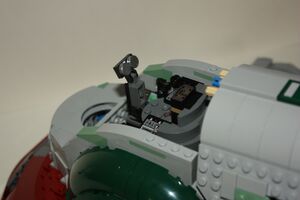
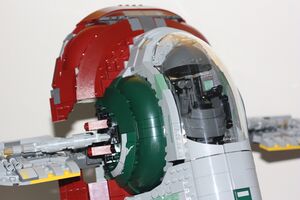
Bag 8 finally gets to the cockpit area, where you assemble two walls of SNOT bricks. These are what the "fenders" (honestly don't know what the proper term for them would be) that surround the wings attachment point. While the cockpit itself where Boba Fett sits is utterly basic, it does have the ability to rotate with the ship and manages to fit some control panels in there as well. Nothing too complex or detailed though. Unlike some previous LEGO Slave Is, the cockpit doesn't rotate with the ship. For a ship this scale, I feel like LEGO should have made this feature, as I often forget to change the cockpit's rotation when I change the ship's position.
Bag 9[edit | edit source]
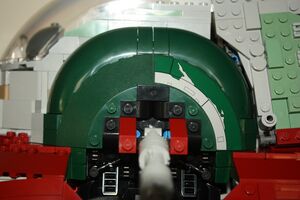
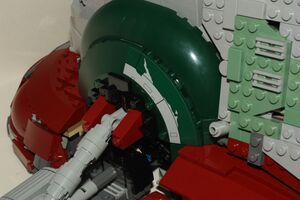
Once you reach bag 9 you really start to see the final shape the ship will take up. You build the curved front in this bag as well as the large dark green "fenders" as I referred to them as before. One of these dark green slopes gets a sticker, which I don't necessarily like as it really doesn't look "complete". As you follow the profile of the curve, the design on the sticker abruptly stops once it reaches the end of the piece. Upon investigating what the actual Slave I looked like, this is correctly designed, it just looks a bit strange. Not an inaccuracy from the subject matter though.
Bag 10[edit | edit source]
Bag 10 assembles a sturdy back to the ship. Built from a Technic frame, this is the sturdiest I've seen a LEGO Slave I's back. Lots of great earth green and sand green slopes in this bag as well; the farthest back slope is exclusive to this set. You also get to add the large windscreen to the model. The windscreen's slope flows perfectly into the tail end of the ship in a streamlined design. Two stickers go onto the windscreen. They both cover a sloped surface as well as a flat surface, so it can be hard to line these up. I was lucky enough to get them closely aligned on my first try.
Bag 11 and 12[edit | edit source]
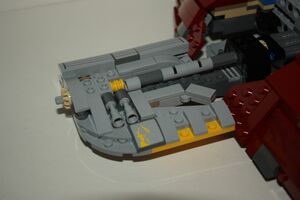
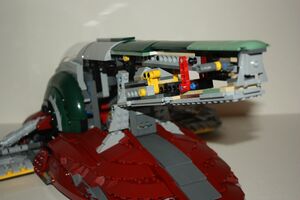
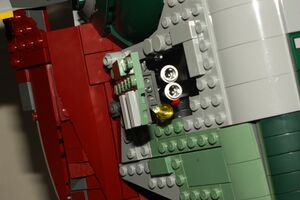
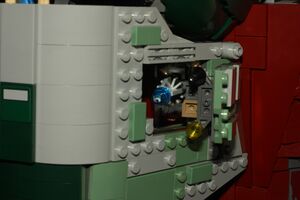
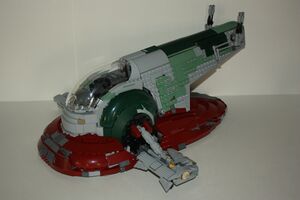
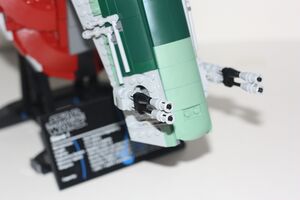
Bags 11 and 12 build each side of the ship's back. These have a lot of detail and also hold two compartments for miscellaneous weapons. You can open and close these compartments very easily depending on how you want to display the set. They both attach using clips and ball joints and sturdily stay on the ship. Once you finish these bags, you've finished the ship.
Bag 13[edit | edit source]
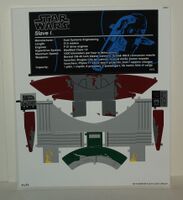
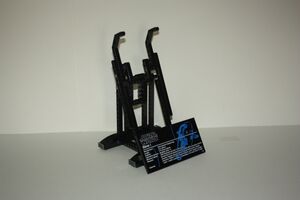
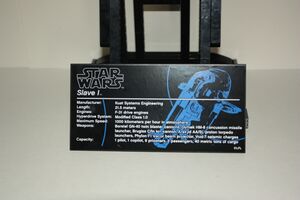
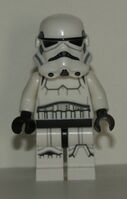
The last bag builds the black stand famous to Ultimate Collectors' Series sets. It's very basic but does the job. It holds the ship up well and doesn't collapse under the weight of the heavy model. The information card included in this set features all the information you'd need to know about the ship. It also has a typo of "tracor beam" rather than "tractor beam". Whether or not LEGO will release a corrected version of this sticker is unknown at this time. The Stormtrooper minifigure is also included in this bag.
Conclusion[edit | edit source]
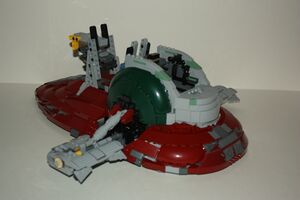
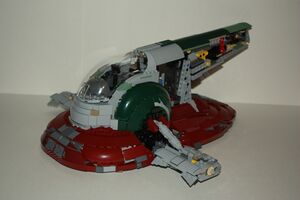
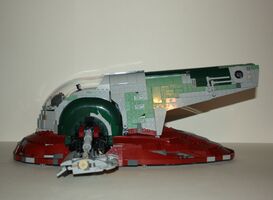
Overall this set is an amazing display piece. I haven't gotten every Ultimate Collectors Series set over the years, but I did get some of the very first ones and it's amazing to see how the quality and detail in the sets has increased over the years. From a distance this set doesn't even look like it's made out of LEGO; it's so streamlined and the curves are so perfect that it looks like a regular model of the Slave I rather than one built out of bricks. The minifigures, though primarily Boba Fett is the one that shines the most, are all exceptional. As I haven't gotten LEGO Star Wars sets in quite a long time, even the basic stormtrooper minifigure is exceptional compared to the old stormtroopers I have in my collection. The build isn't too difficult, but it certainly isn't boring or repetitive like some sets can be (especially those intended to be displayed rather than played with). This set includes some amazing parts in non-standard colors, but I can't see myself taking this apart just to use pieces from it any time soon. Even though it's a display item, it's got some playability that you wouldn't necessarily expect from the Ultimate Collectors Series, such as the moving cockpit, the moving wings, and the working cargo bay door to store Han Solo in carbonite. The price is high, but you're getting a lot for that price. Not only are you getting an awesome LEGO set but you're getting a timeless collector's item as well.
| Build/Design | |
| Playability | |
| Parts | |
| Price | |
| Overall |
Thank you for reading this review! I apologize for any images of during the build that may be a bit bad quality— this is because I was building this late at night while on the Creations For Charity 24 hour live stream, so I didn't pay attention to the quality in some of them. :( If you have any questions, leave them in the comments below and I'll be sure to read and answer them. Cheers!

